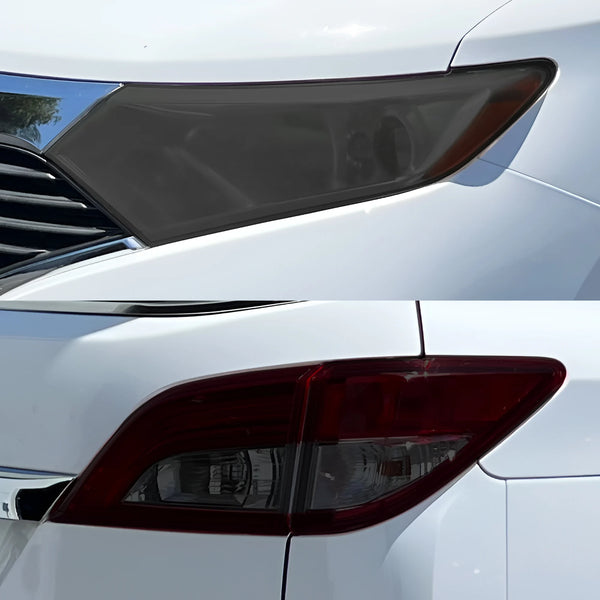
Headlight & Taillight Tint Kit Installation Guide
(Updated Nov 2026)
Easy Step-by-Step Instructions
Before starting: Watch the installation video for the best results!
What You'll Need


Before You Start
-
Work in a clean, dry area away from wind and dust.
-
Best temperature: 68°F–80°F (20°C–27°C).
-
Make sure your headlights or taillights are cool.
Installation Video Below:
Click Here For Headlight Installation Video
Click Here For Tail Light Installation Video

Step 1: Prepare Your Spray Solutions
Slip Solution Mixing Guide (2 oz Bottle)
-
Prepare Your Materials:
-
2 oz spray bottle (clean)
-
Baby shampoo (Johnson's baby shampoo)
-
Syringe
-
Distilled water
-
-
Fill with Water:
-
-
Fill majority of the bottle with water.
→ Distilled is Preferred but Tap is okay -
Leave a small gap so you can mix it easily.

Add Shampoo:
-
Use the syringe and inject 0.5 mL of baby shampoo directly into the 2 oz spray bottle.
-
-
-
-
Mix the Solution:
-
Cap the bottle and shake gently until fully mixed.
-
The liquid should appear slightly soapy but mostly clear.

-

Step 2: Clean the Headlight or Taillight
-
Spray Slip Solution onto a microfiber towel.

-
Wipe the entire lens, including the edges and corners.
-
Fold the towel to a clean side and wipe again using Tack Solution.
-
Let the lens dry completely before installing.
Important: Do NOT use wax or shine sprays. They can stop the tint from sticking.
Step 3: Apply the Tint
-
Find the tint piece that matches your headlight or taillight.

-
Spray Slip Solution onto the lens and the sticky side of the tint.

-
Place the tint onto the lens and align it to one edge of the film; The slip solution should help it glide on the lens.

-
Once the film is align to one edge, carefully lift the a portion of the film and spray tack solution underneath and on top of the film
→ Tack solution will help secure the film to the lens quicker
-
Use your squeegee to push water and air out from the center toward the edges.

- If stretching is not required, lift the other side of the film and repeat steps 4 and 5 until all solution is removed from underneath the film
Step 4: Fix Bubbles or Raised Edges
Small raised lines in the tint are called "fingers." They can happen around curves and edges.
Important: Do not pull too hard or press a crease into the tint. Creases may be permanent.
-
If the tint is still wet and loose, gently lift and reposition the raised area.
-
Use a hair dryer or heat gun on low heat to soften the tint.
-
Press the area flat with your squeegee, working toward the edge.
-
If an edge won't stick, apply a little Tack Solution and press again.
-
Make sure at least a quarter of the film is secured and won't move
→ If the film continues to move, apply more tack solution underneath and above the film and remove the solution; You may also apply a bit of heat to secure the film
- Lift the side of the film that wasn't tacked down, and apply a bit of slip solution underneath
- Hold the film firmly and stretch towards the other edge of the lens and hold to allow the film to mold to the headlight

- While holding the film, spray tack solution underneath and above the film and tack down the film
Step 5: Heat to Seal the Tint (VERY IMPORTANT!)
Warning: Do not overheat the tint! Stop if it bubbles or changes shape.
-
Hold your hair dryer or heat gun about 4–6 inches away from the tint and apply heat evenly

-
Keep the heat moving from side to side to ensure you don't burn the film.

-
Focus on edges, corners, curves, and stretched areas.

-
As the tint warms, gently press it down with your squeegee wrapped around a microfiber towel.

-
Check all edges to make sure they are flat and sticking.

Step 6: Give the tint time to fully stick to your lights.
-
Let the tint heal for 3–5 days.

-
Do NOT wash your car for 2–3 days.
-
Avoid touching or lifting the tint while it heals.

Tip: Small moisture bubbles may clear as the tint dries. Do not peel the film up to remove them unless your installation video tells you to.
You're all done! Enjoy your new tinted look!
Want to Remove the Tint Later?
-
Heat: Gently warm the tint with a hair dryer.
-
Peel: Slowly lift a corner and pull at an angle.
-
Clean: Remove leftover glue with a lens-safe adhesive remover and microfiber towel.