KIA K5 Side Door Chrome Delete Kit Installation Guide
Simple Step-by-Step Instructions for Your Vehicle
Video and Written Instruction Below
Hi there! Thanks for getting your Chrome Delete Kit. This guide will help you install the vinyl on your chrome trim — even if it’s your first time. Take your time, read slowly, and you’ll do great!
What You Need to Get Started
Tools Included With Order:
-
Soft felt edge squeegee
-
Cutting blade
- Microfiber Towel
Tools Recommended For Best Results:
-
Heat gun (or a hair dryer)
-
Isopropyl Alcohol (IPA) – 70% to 90%
-
Distilled water (if using 99% IPA)
- You don’t have to use all the extra tools to install the kit, but just a heads-up — your results might not come out as clean. We still highly recommend using a heat gun, hair dryer, or heat lamp to help the vinyl stick better and last longer.
Set Up Your Work Area
-
Avoid wind, dirt, or dust while working.
-
Work inside a garage or under a covered space.
-
Keep the temperature between 65°F–75°F (18°C–24°C). This is considered a mild or comfortable temperature.
Step 1: Wash the Car (Especially the Chrome Parts)
-
Wash off all dirt, wax, or car soap from the chrome area.
-
Don’t use wax or shine sprays — they stop the vinyl from sticking.
-
Dry the car completely before moving to the next step.
Step 2: Clean with Isopropyl Alcohol (IPA)
-
Use 70%–90% IPA in a spray bottle.
-
If using 99% IPA, mix it with distilled water:
➤ Mix 8.4 oz alcohol + 3.6 oz distilled water in a 12 oz bottle.
-
Spray the alcohol mix on the chrome or on a clean towel.
-
Wipe the surface in overlapping strokes, flip the towel often to avoid
-
Clean edges, curves, and under rubber trims too.
-
Let everything dry before installing the vinyl.
Installation Video Below:

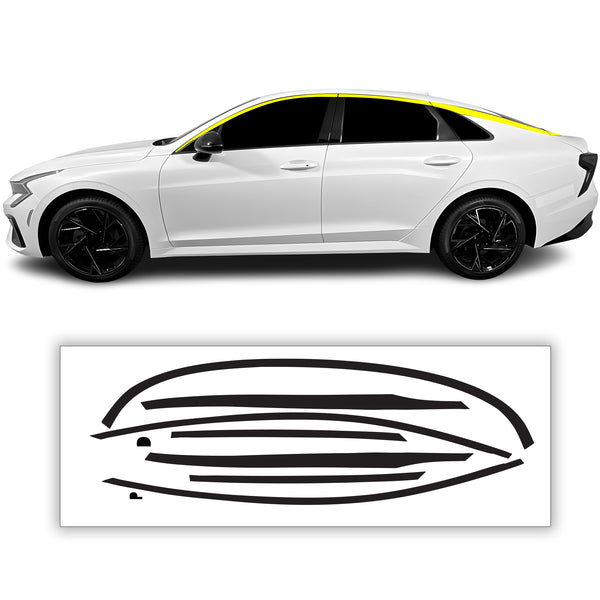
Written Step-by-Step: Installing the Pre-Cut Vinyl Kit
Start with the Front Door Chrome Trim
-
Open the door (this helps with tucking the film and getting a full coverage).
-
Grab the matching vinyl piece for the front door.
-
Line it up with the front edge and bottom edge of the chrome trim.
-
Hold the film with one hand and align it with the other.
-
Stick it down slowly — from one end to the other.
Smooth the Film
-
Use the soft felt side of the squeegee.
-
Start from the bottom and squeegee to the top of the panel to push out air bubbles.
-
Go slow and fix bubbles as you see them.
-
Before trimming or tucking the material, apply heat to help conform the film to the panel.
Warm the Film
-
Turn your heat gun to low or use a hairdryer.
-
Keep it 4–6 inches away from the vinyl.
-
Heat the whole area gently, in a side-to-side motion — don’t stay in one spot.
-
This helps the vinyl stick and fit better around edges and curves.
Trim or Tuck the Top Edge
Two options may be available:
Option 1: Tuck Under the Rubber Trim (If Applicable)
-
Make sure to deep clean under the gasket before the installation.
-
Gently lift the rubber gasket.
-
Use the hard edge of your squeegee to push the vinyl underneath.
-
Work in small sections until the whole top is tucked.
Option 2: Trim the Extra Vinyl
-
Squeegee & secure the entire top edge down firmly with your squeegee.
-
Use your finger to trace a line where the chrome meets the rubber.
-
Expose just the tip of the blade (2–3 clicks).
-
Carefully follow your outline and trim the extra film.
-
Do NOT apply too much pressure with the blade — If too much pressure is applied the chrome underneath may get scratched.
- Repeat the same process for the rear door panel.
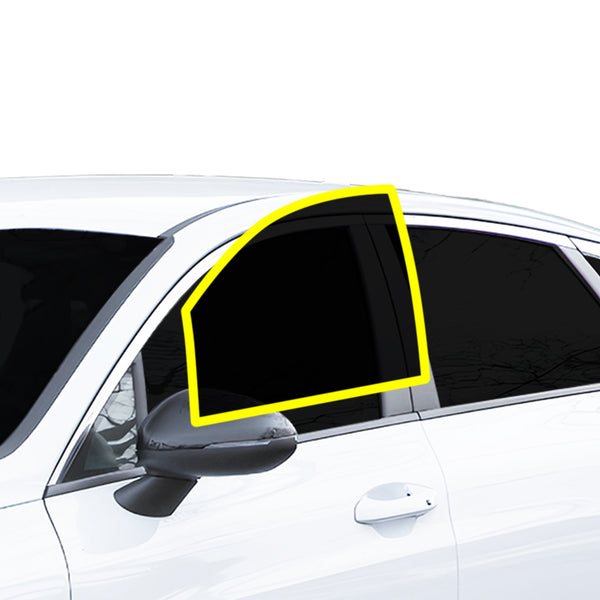
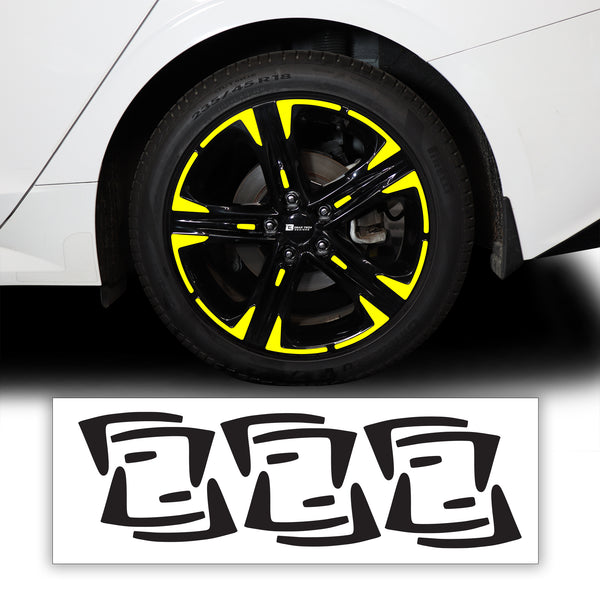
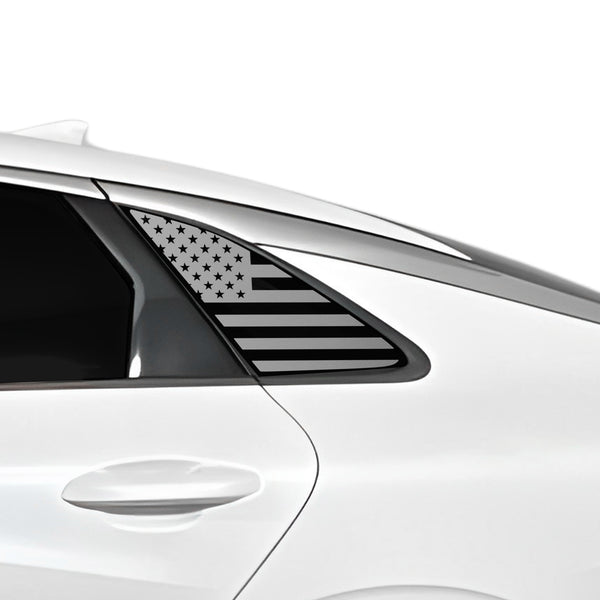
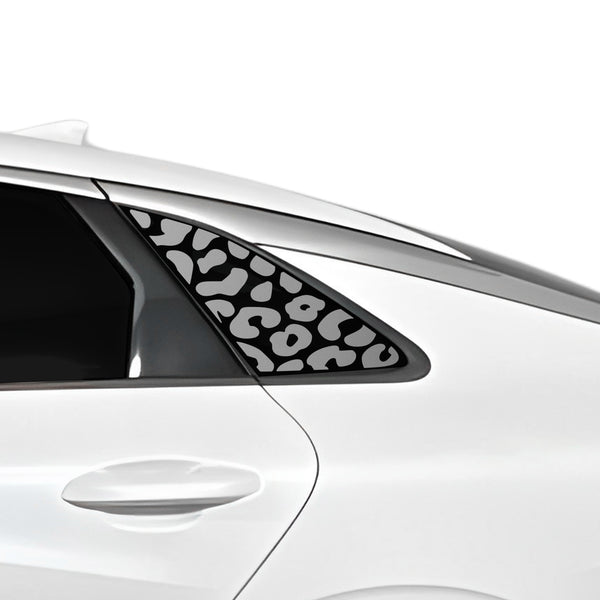
Quarter Window Chrome
-
Start with the curve design in the middle of the panel.
-
Line up the film on that curve — then match the rest.
-
Use the lower edge to guide your alignment.
-
Hold the film with one hand and align it with the other.
-
Stick down the film slowly while holding it with one hand.
-
Squeegee it and remove any bubbles.
-
Follow the same heating steps as the previous install. This is to help the film conform to the design of the panel, then trim off any extra.
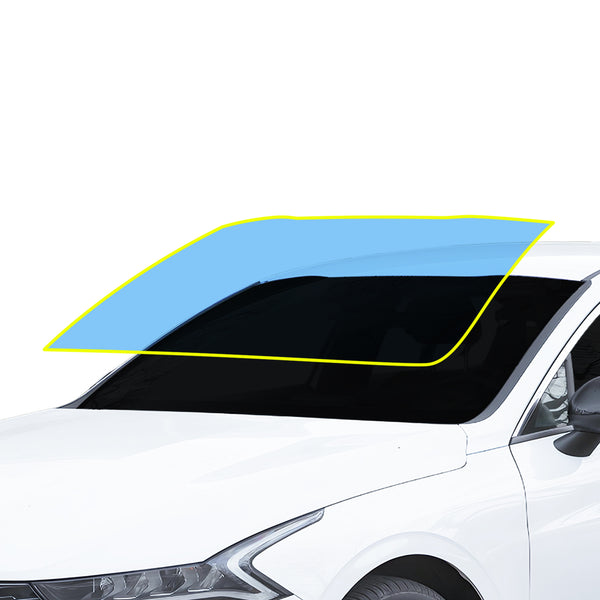
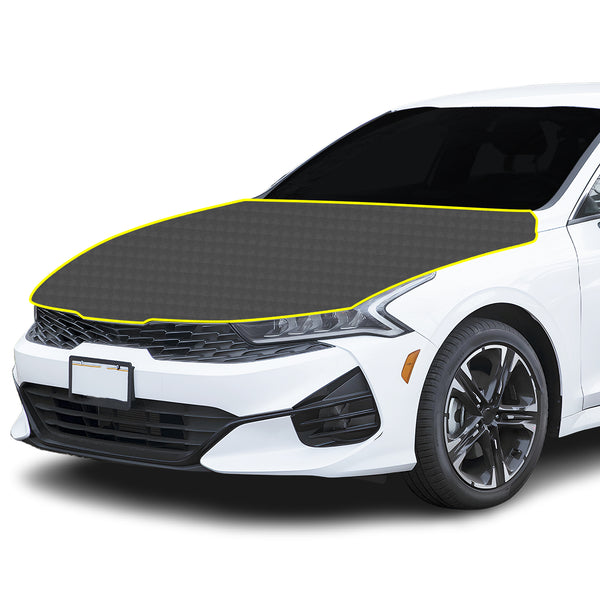
Rear Windshield Chrome Trim
-
Start on either the driver or passenger side — your choice!
-
Align the edge of the film with the chrome trim.
-
Stick it down section by section using both hands.
-
If it misaligns, gently lift it and fix it.
-
Grab your squeegee and smooth out bubbles
What If You See Wrinkles or “Fingers”?
These are little air bumps or lines. To remove "Fingers" try:
Method 1: Heat & Relax
-
Lightly heat the area (not too much!)
-
Let the film relax and flatten.
-
Smooth it gently with a squeegee or your finger (wearing a wrap glove).
Method 2: Lift & Re-Stick
-
Gently lift the film past the wrinkle (finger).
-
Add a bit of heat.
-
Lay it down again, nice and smooth.
-
Repeat the same steps as the previous install in order to squeegee, trim/tuck excess material and adding heat to help film conform to the design of the rear chrome.
Final Step: Post-Heating the Vinyl
This step is very important. Skipping this step is one of the main causes of vinyl failure on chrome deletes.
Tools Needed For Best Post-Heat Results:
-
Heat gun with digital or controlled temperature settings
-
Infrared thermometer or heat gun with temperature readout (highly recommended)
-
Microfiber or heat-resistant gloves (for light pressure during heating)
-
Squeegee or edge tool
➤ What to Do:
-
Focus on edges, corners, and curves.
-
Heat each section for 5–10 seconds using:
-
4–6 inches distance
-
Side-to-side motion
How to Tell If It's Hot Enough:
-
The vinyl will go from dull → slightly shiny.
-
Gently touch with a glove — if you can keep your finger on it for 2 seconds, it’s just right.
-
Don’t overheat it! If it bubbles or smells, it’s too hot.
After the Install — Very Important!
-For Best Results let the film cure for at least 24 hours and do not wash the car for 3-5 days — if not enough time to cure is given your results might not come out as clean.
- Post-Install Walkthrough + Recheck in 24 Hours
-
After install, go over all edges and high-stretch areas one more time:
-
Reheat lightly (if cooled down)
-
Press with a gloved hand or squeegee
2. Watch Environmental Conditions
-
Avoid:
-
Parking in direct sun immediately after install
-
Driving in extreme cold or rain
-
Ideal curing temp: 70°F–85°F, with low humidity
-
If it’s cold: Wrap indoors and let the car stay overnight in a climate-controlled area.
Do these steps to ensure that the film cures properly in order to prevent the vinyl from lifting over time.
Want to Remove the Vinyl Later?
No problem! Here's how:
-
Heat it first.
-
Use a heat gun to warm up small parts of the vinyl.
-
Peel slowly.
-
Start at a corner and pull gently at an angle (not straight up).
-
Clean leftover glue.
-
Use adhesive remover (like Goo Gone) and a microfiber towel.
-
Final wipe.
-
Clean the area with IPA to remove any residue.
You Did It!
If you followed all the steps — nice job!
Your chrome delete should look clean, smooth, and last a long time. If you ever need help, feel free to reach out to our team.
 We’re a small team, and every review means the world to us. If you loved your install, please leave a quick review — it helps more than you know!
● If you ordered through Amazon, click here to leave a review
● If you ordered through our website, click here to leave a review
If you have any issues with your order, please give us the chance to make it right by contacting us at (310) 613-7382 or customerservice@bogartechdesigns.com (Monday–Friday, 6 AM to 2 PM Pacific Time).

Thank you for choosing us!
We truly appreciate your support and are grateful to have you as part of our community. As a token of our appreciation, please enjoy this exclusive discount on your next order. You’ve earned it!"
Use code: INSTALL10 at checkout – because you deserve to save.