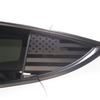
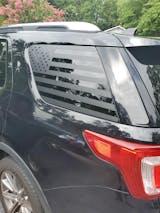
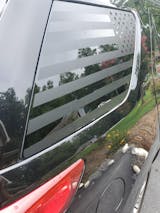
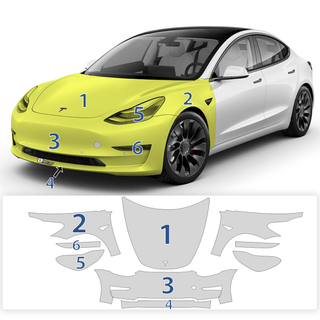
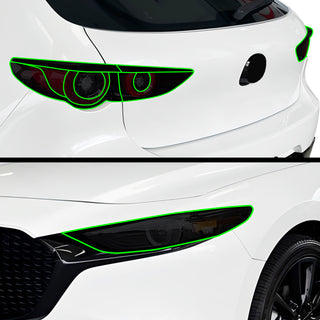
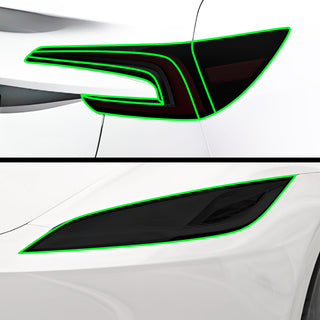
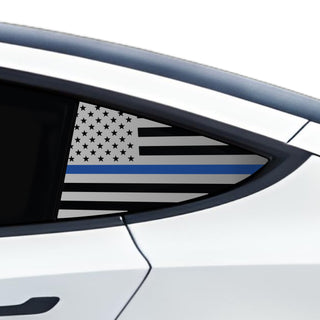
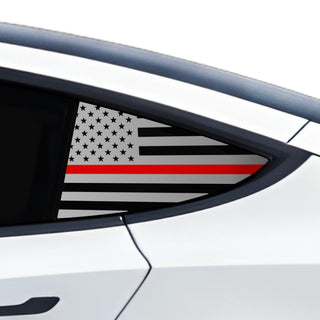
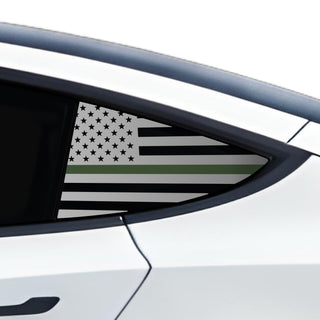
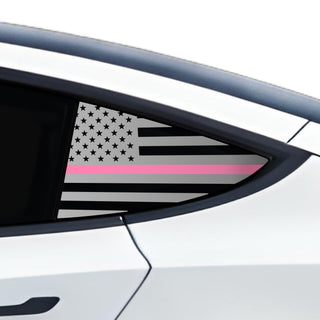
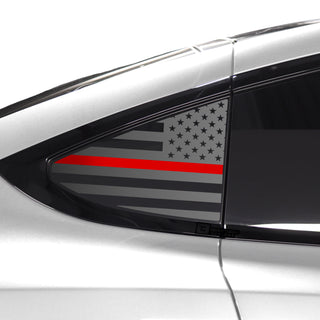
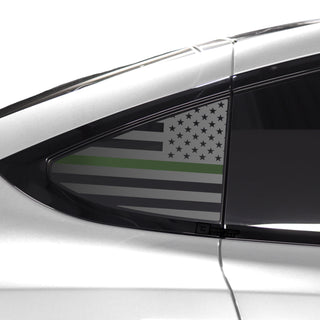
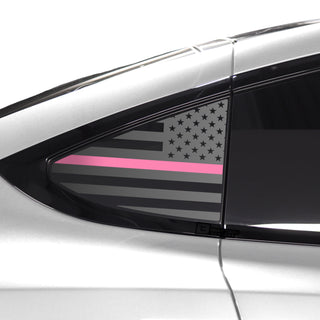
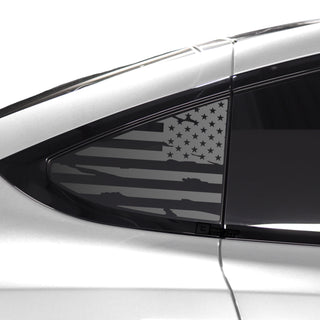
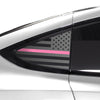
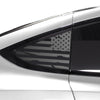
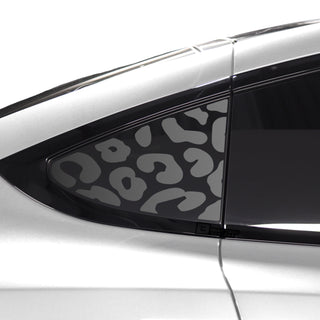
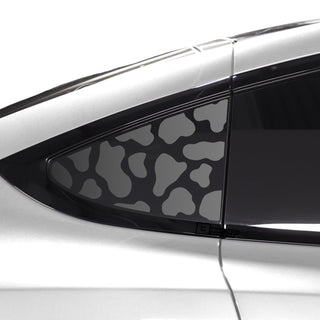
- MADE IN USA - Shipped and made proudly in the USA
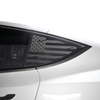
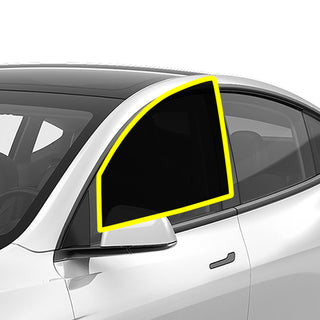
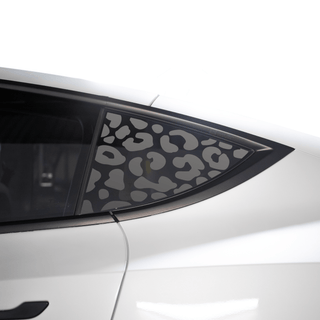
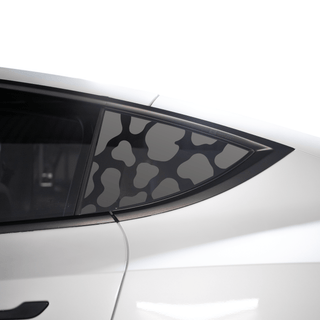
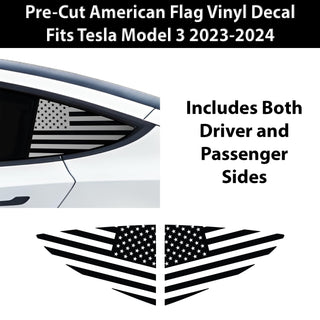
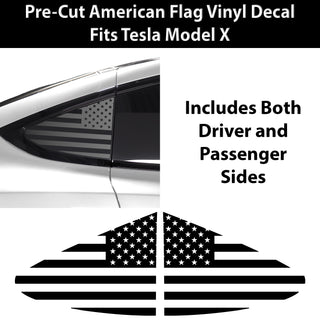
- PERFECT FIT - Precisely cut to fit your Ford Explorer 2011 2012 2013 2014 2015 2016 2017 2018 2019rear quarter windows (No trimming required). Change the feel and appearance of your vehicle without the high costs.
- HIGH QUALITY - Made to last for years, our decals are always made from high grade vinyl ensuring quality 100% of the time. These will never leave unwanted residue or stains after being removed
- EASY TO INSTALL - Detailed installation instructions are included with the product.
- GUARANTEE - 100% satisfaction guaranteed! If you are not satisfied with your order, please feel free to reach out to us and we'll make things right
Basic installation instructions:
1) Wipe down and clean the area your decal/s will go. Make sure the area is clean, free from dirt and debris.
2) Peel off the decal and transfer tape from the backing paper.
3) Carefully apply the decal onto the area. Make sure to lay the decal flat eliminating all air bubbles. If needed, use a felt edge tool or squeegee to assist with application.
4) Carefully and slowly remove the transfer tape from the decal.
5) Repeat steps for any additional decal. Press firmly and gently rub the decal with a microfiber cloth or a felt squeegee tool while applying heat to assist with adhesion. 100% satisfaction guaranteed!
Please feel free to contact us if you have any questions or issues.
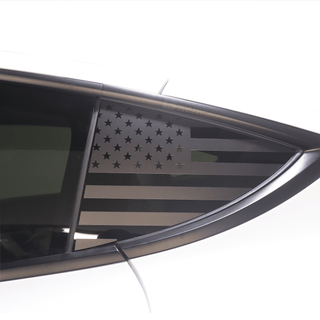
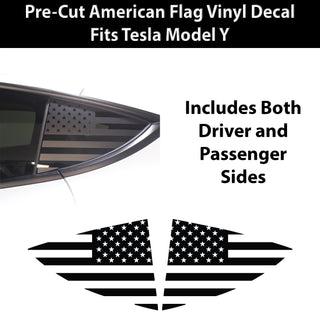
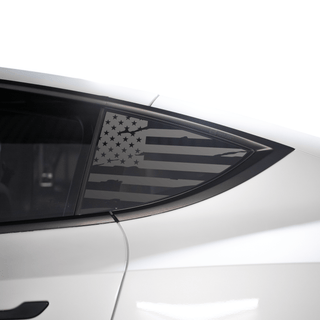
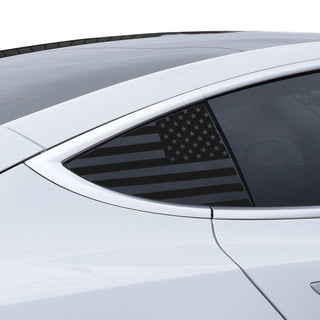
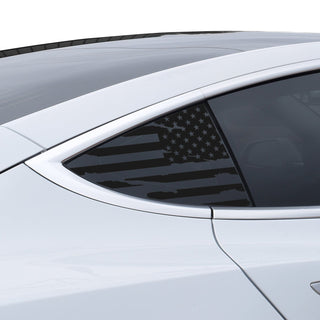
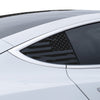
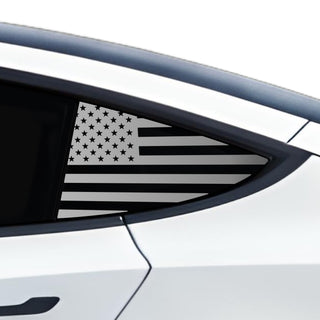
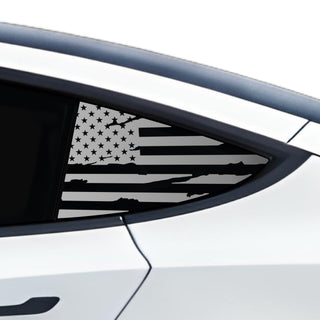
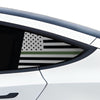
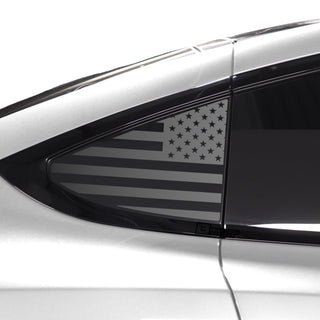
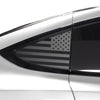
✅ Show Your Patriotism – Proudly display the American flag on your vehicle with this premium vinyl decal. A bold statement of love for the USA!
✅ Durable & Weatherproof – Made from high-quality automotive vinyl, this decal is built to withstand sun, rain, and car washes without fading or peeling.
✅ Easy to Apply & Remove – Simple peel-and-stick installation with no bubbles. Leaves no residue when removed. Fits most car and truck windows.
✅ Made in the USA – Designed, manufactured, and shipped by a small American business supporting local jobs and craftsmanship.
✅ Perfect Gift for Patriots – Whether for yourself or a fellow American, this flag decal makes a great gift for veterans, first responders, and proud citizens.
Show your patriotism with this American flag car decal, perfect for any vehicle. This USA flag window sticker is a must-have for those who love patriotic car accessories. Made from durable vinyl, this red, white, and blue auto graphic is ideal for trucks, SUVs, and sedans. Add a stylish touch with this USA window emblem, designed for weather resistance and long-lasting use. Whether for a military veteran, first responder, or proud American, this window graphic makes a great gift.
Fits the FORD EXPLORER 2011 2012 2013 2014 2015 2016 2017 2018 2019
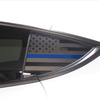
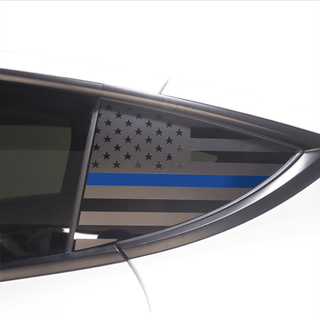
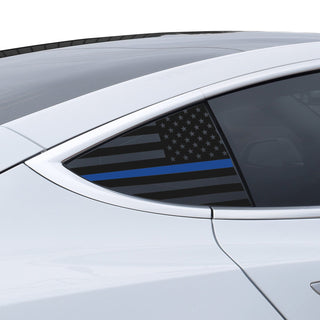
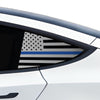
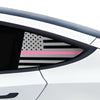
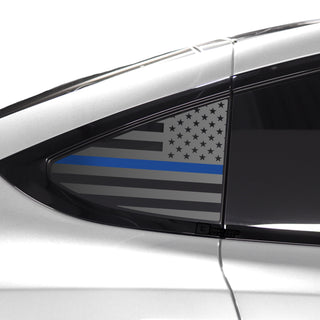
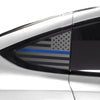
✅ Support Law Enforcement – Show your appreciation for police officers and first responders with this bold Thin Blue Line American flag decal.
✅ Premium Quality & Long-Lasting – Made from high-performance vinyl, resistant to fading, peeling, and harsh weather conditions.
✅ Hassle-Free Application – Simple to install with a bubble-free finish and easy removal without damage or residue.
✅ Made in the USA – Created by a small, American-owned business, ensuring top-notch quality and supporting local jobs.
✅ Perfect for Any Vehicle – Designed for cars, trucks, SUVs, and motorcycles. A meaningful way to honor those who protect and serve.
Support law enforcement with this Thin Blue Line decal, a powerful tribute to police officers and first responders. This law enforcement support sticker features a bold blue stripe American flag design, perfect for cars, motorcycles, and SUVs. Show appreciation with this police officer tribute graphic, made with high-quality vinyl for durability. A great addition to any back-the-blue car accessory collection, this window decal withstands extreme conditions. A meaningful gift for cops, this auto tribute honors those who serve and protect.
Fits the FORD EXPLORER 2011 2012 2013 2014 2015 2016 2017 2018 2019
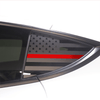
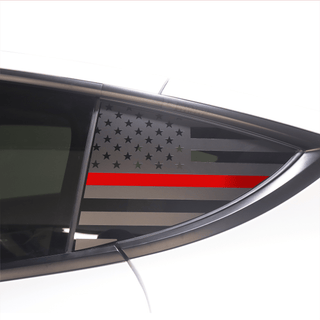
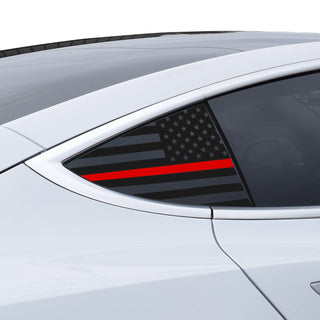
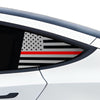
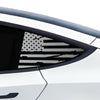
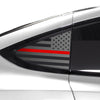
✅ Honor Firefighters & First Responders – This Thin Red Line American flag decal represents courage, sacrifice, and support for firefighters.
✅ High-Quality Automotive Vinyl – Weather-resistant, fade-proof, and built to last through all seasons without peeling or cracking.
3️⃣ Effortless Application & Removal – Peel, stick, and smooth out for a flawless fit. Removes cleanly without sticky residue.
✅ Proudly Made in the USA – Designed, cut, and shipped by a small American business, dedicated to quality and patriotism.
✅ A Meaningful Gift – Perfect for firefighters, first responders, and supporters of those who risk their lives for others.
Honor firefighters with this Thin Red Line decal, representing courage and sacrifice. This firefighter support sticker is designed for easy application on cars, trucks, and motorcycles. Featuring a red stripe American flag motif, this fire department tribute emblem is both bold and meaningful. Made for extreme conditions, this first responder graphic resists fading and peeling. Whether you're a firefighter, paramedic, or supporter, this auto dedication accessory makes a great statement piece.
Fits the FORD EXPLORER 2011 2012 2013 2014 2015 2016 2017 2018 2019
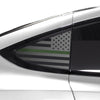
✅ Show Your Patriotism – Proudly display the American flag on your vehicle with this premium vinyl decal. A bold statement of love for the USA!
✅ Durable & Weatherproof – Made from high-quality automotive vinyl, this decal is built to withstand sun, rain, and car washes without fading or peeling.
✅ Easy to Apply & Remove – Simple peel-and-stick installation with no bubbles. Leaves no residue when removed. Fits most car and truck windows.
✅ Made in the USA – Designed, manufactured, and shipped by a small American business supporting local jobs and craftsmanship.
✅ Perfect Gift for Patriots – Whether for yourself or a fellow American, this flag decal makes a great gift for veterans, first responders, and proud citizens.
Show your patriotism with this American flag car decal, perfect for any vehicle. This USA flag window sticker is a must-have for those who love patriotic car accessories. Made from durable vinyl, this red, white, and blue auto graphic is ideal for trucks, SUVs, and sedans. Add a stylish touch with this USA window emblem, designed for weather resistance and long-lasting use. Whether for a military veteran, first responder, or proud American, this window graphic makes a great gift.
Fits the FORD EXPLORER 2011 2012 2013 2014 2015 2016 2017 2018 2019
🚚 Shipping Information
Fast. Reliable. Trackable - FREE
We ship all orders from our U.S. facility with care and speed — because we know you're ready to get wrapping.
Processing
Time: Orders ship same or next business day. Need it faster? We offer rush processing at checkout.
Delivery Time:
Standard
(US): 3–5 business days
Expedited
(US): 1–3 business days
INTERNATIONAL
SHIPPING
When a package is shipped internationally, it may be subject to import taxes, customs duties, and/or fees imposed by the destination country. These charges will typically be due once the shipped goods arrive at the country of destination.
Such charges are not included in the product price or shipping and handling cost. These charges are the buyer’s responsibility as we are only charging the transportation fee for your order.
Free Standard Shipping on all U.S. orders!
Tracking details are sent automatically as soon as your order ships — no need to ask or guess.
Hassle-Free Returns — Because Your Satisfaction Comes First
At Bogar Tech Designs, we believe buying online should be easy and stress-free. That’s why we back every order with a simple, no-hassle return policy — so you can shop with total confidence.
🇺🇸 USA Orders –
30-Day Easy Returns
Return Window: You have 30 days from the purchase date to send back any item.
Eligibility:
Items must be unused, in original condition, and returned in their original packaging.
🌍 International Orders – 60-Day Returns
We extend our return window to 60 days for international customers. Everything else stays the same — simple and fair.
Still Have Questions?
Our support team is here to help.
📧
Email us anytime: customerservice@bogartechdesigns.com
✅ Shop Confidently. We've Got
Your Back.
Worry-Free Warranty — Even Covers Accidents
We stand behind our products — and your experience. That’s why every order includes Replacement Warranty Coverage with Accidental Damage Protection for extra peace of mind.
✅ What’s Covered (For 12 Months
From Purchase)
Enjoy a one-time FREE replacement within 12 months for any of the following:
🔧 Manufacturing Defects
- Fading or hazing beyond normal wear and tear
- Peeling or delamination
- Machine-cutting issues
🛠️ Accidental Installation Damage
Made a mistake during install? No problem — we’ll replace it once, on us.
📦 Shipping Damage
If your order arrives damaged from shipping, just let us know within 10 days of delivery.
We may request a quick photo of the damaged item and packaging to help file a claim on your behalf.
Our Promise: No Surprises. Just Support.
We know things happen — that's why our warranty isn't just about manufacturing defects. It’s about giving you confidence, even if you’re new to DIY installation.
Pro Tip: If anything looks off, snap a photo 📸 and reach out — we’ll take care of you fast.
Need Help?💬
Just shoot us an email: customerservice@bogartechdesigns.com
